
Move Beyond Automatic Framing
A photograph can be technically sharp and still feel unclear. The course places attention on what enters the frame, where the focal point sits, and whether the background supports or competes with the subject.
By making several versions of one scene, you can compare centered and off-center placement, tighter and wider crops, different focus points, and changes in camera position without trying to solve everything at once.
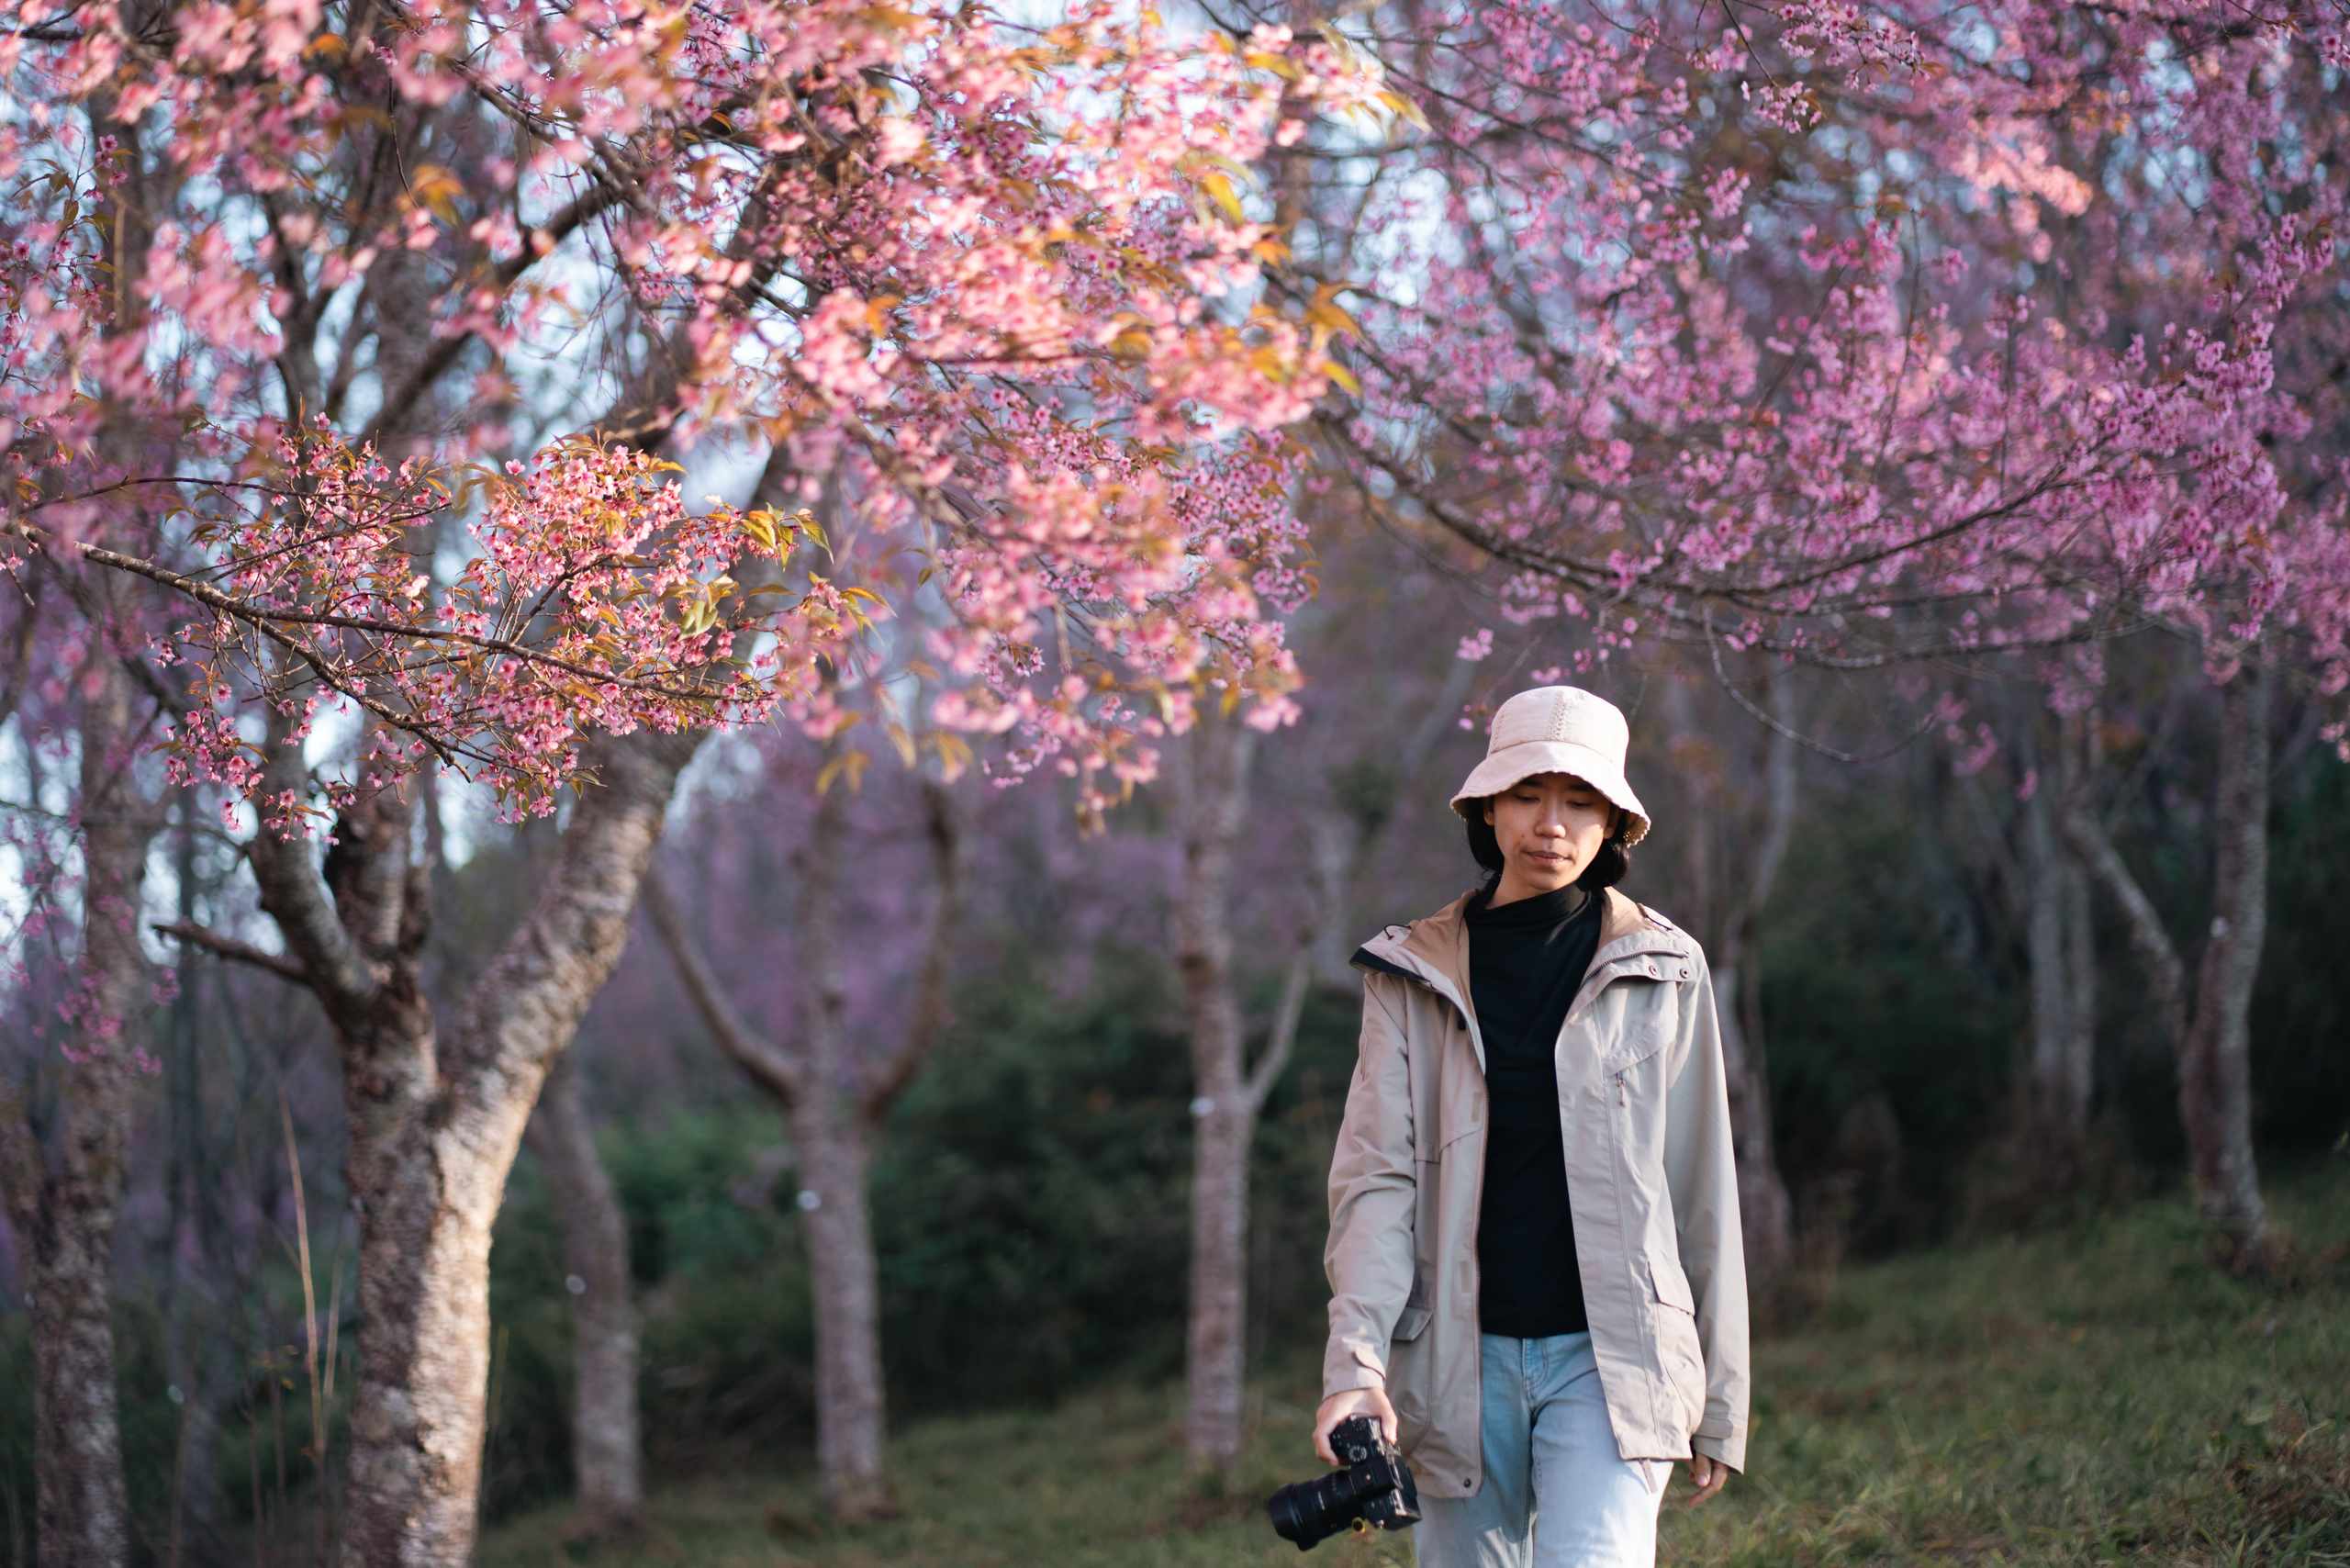
WHAT TO PRACTICE
Four Visual Decisions To Notice
Control The Frame
Use negative space, leading lines, symmetry, repetition, and edge control to make the main subject easier to read. Small changes in cropping or camera position can remove distractions without changing the scene itself.
Work With Available Light
Observe how window light, direct light, side light, and backlight affect texture, contrast, and shadow. Compare the same subject under different conditions before relying on exposure adjustments.

Create Depth And Focus
Use foreground, middle ground, background, focus placement, and depth of field to separate important elements. Practice changing distance and angle instead of depending only on background blur.
Edit With Restraint
Refine crop, exposure, highlights, shadows, contrast, and color one adjustment at a time. The goal is to support the original visual idea rather than hide a weak composition under heavy processing.
PHOTO STUDY PROCESS
Observe, Shoot, Compare, Refine

Keep Training Your Eye Between Shoots
Use practical photography notes to study framing, negative space, perspective, light direction, focus, exposure, and color through focused examples.
Each topic is built around a specific visual problem, observation cue, or small exercise that can be tested with a camera or smartphone.